EasyUEFI allows you to create an emergency USB disk or CD/DVD that contains all the features of EasyUEFI. It is indispensable when windows system fails to boot because of a missing or corrupt EFI/UEFI boot option. We strongly recommend that you create a emergency disk immediately after you install EasyUEFI for emergency needs.
Step 1. Click "Tools" > "Create Bootable Disk".
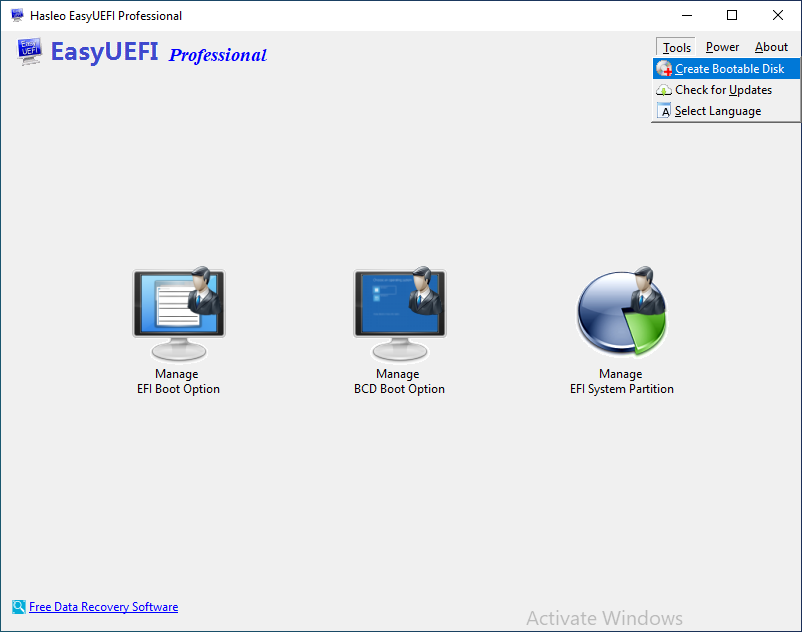
Step 2. You can select "USB" to create an emergency USB disk, or choose "Explore ISO" to export the ISO file to a specified location. You can also add drivers and choose other options as needed, then click "Proceed".
* The Add drivers feature allows you to inject additional drivers into WinPE. Please note that only .inf based drivers are supported for injection into WinPE.
* The Download WinPE components option allows you to download WinPE components instead of looking for WinPE components from the current computer.
* The Enable support for 'Windows UEFI CA 2023' option allows you to create a bootable medium that complies with Microsoft's UEFI CA 2023 secure signature standard. This enables it to pass Secure Boot verification on computers that only trust this new certificate.
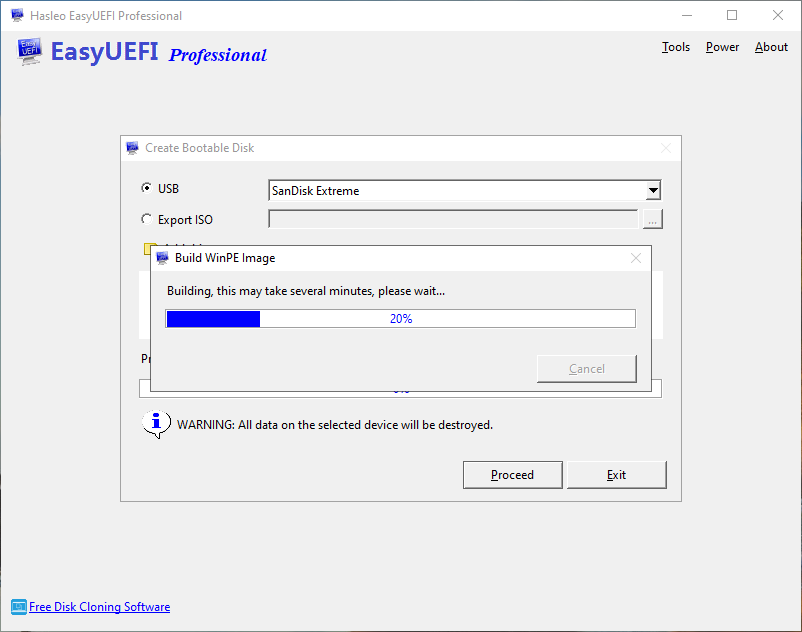
Step 3. After clicking "Proceed", EasyUEFI begins creating the WinPE boot media.
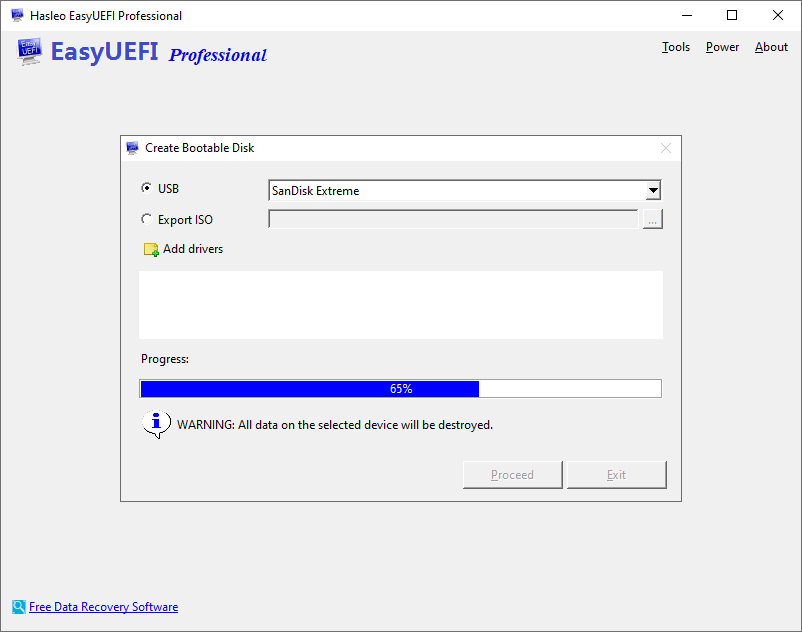
Step 4. Wait for the process to complete and click "Exit".
![]()
![]()