
Hasleo PXE Boot Tool is specifically designed for securely booting and maintaining multiple client computers within a local area network (LAN) over the network. It enables you to boot the Hasleo Backup Suite recovery environment on client machines via the network, which is particularly useful for bare-metal restore or network deployment.
Please note that you may need to disable UEFI Secure Boot to boot from the bootable WinPE media created by Hasleo Backup Suite.
Tutorial on booting client computers over a local area network (LAN) using the Hasleo PXE server.
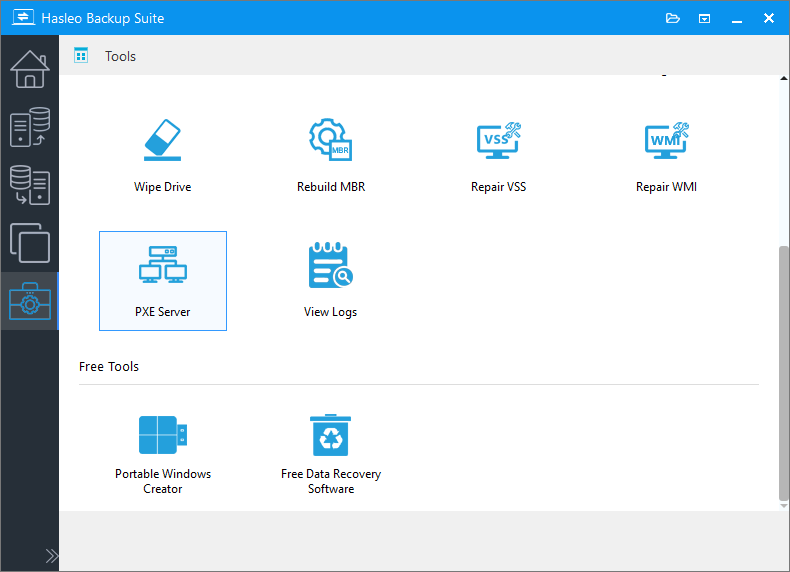
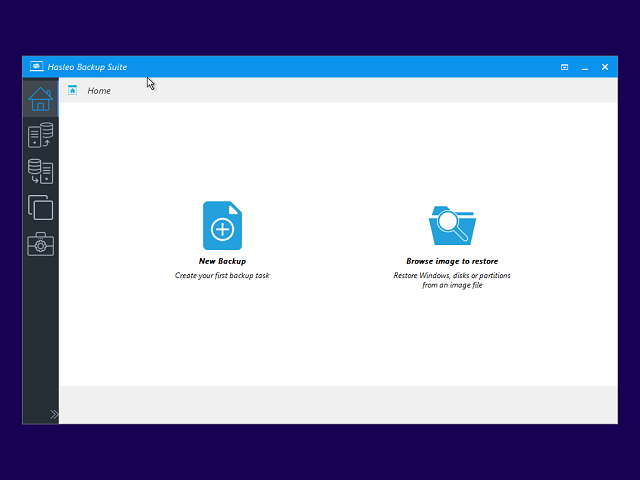
Step 1. Install and run Hasleo Backup Suite, click "Tools" button in the navigation bar, then click "PXE Server" button in the operation area.
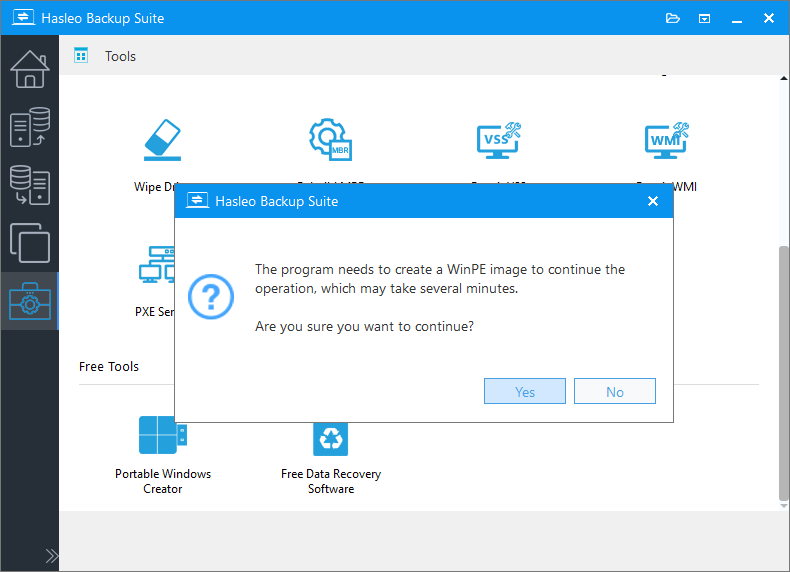
Step 2. If you have not created a bootable WinPE image, Hasleo Backup Suite will prompt you to create a WinPE image, click the "Yes" button.
Step 3. If you need to inject additional drivers into the WinPE image, click the "Add Driver" button and select the drivers you want to inject, then click the "Next" button. Otherwise, just click the "Next" button to skip this step.
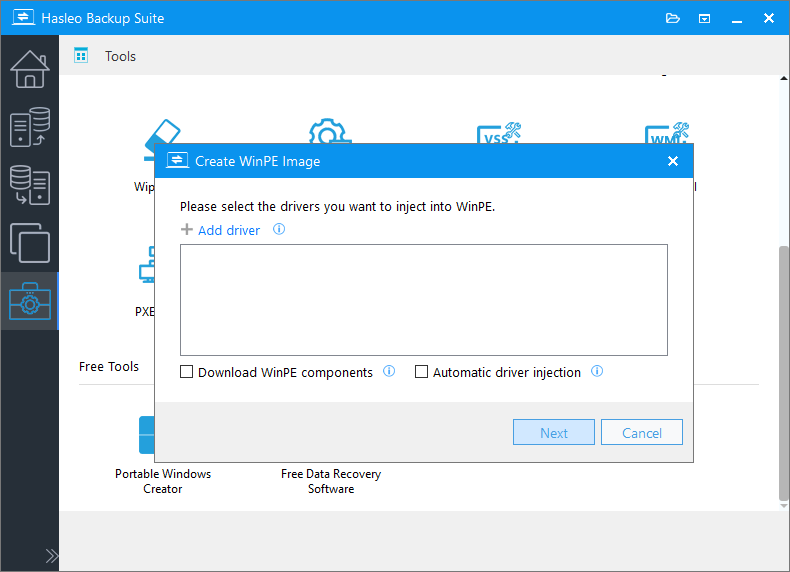
* Please note that only .inf based drivers are supported for injection into WinPE.
* The Download WinPE components option allows you to download WinPE components instead of looking for WinPE components from the current computer.
* The Automatic driver injection option will automatically extract drivers from the current Windows operating system and inject them into WinPE. Please be advised that while Hasleo Backup Suite endeavors to extract and inject all drivers into WinPE, this process is not infallible, and we do not warrant that all hardware will be fully operational in the WinPE environment.
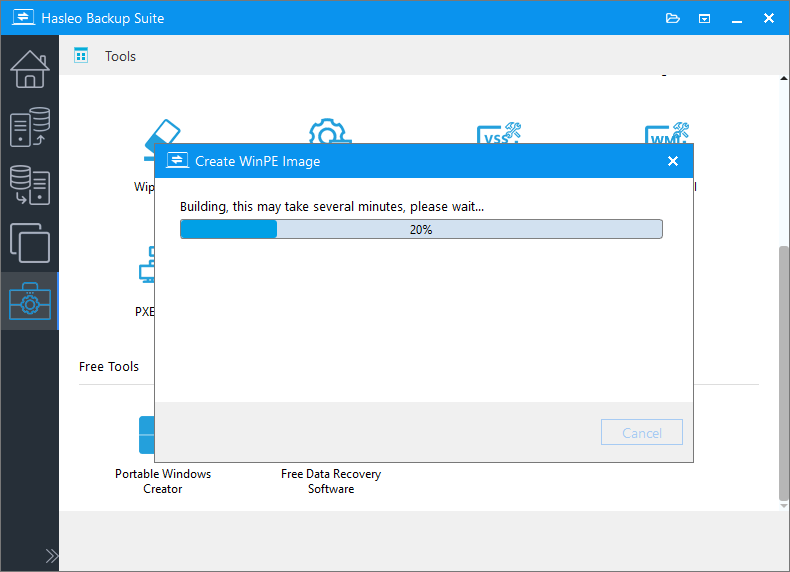
Step 4. Hasleo Backup Suite will start to create the WinPE image, this may take a few minutes, please be patient.
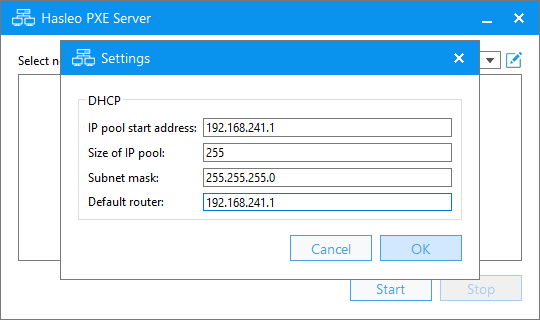
Step 5. After creating WinPE, select the network interface for PXE services, configure network options as needed by the clicking ![]() icon, and then click the "OK" button to save the settings.
icon, and then click the "OK" button to save the settings.
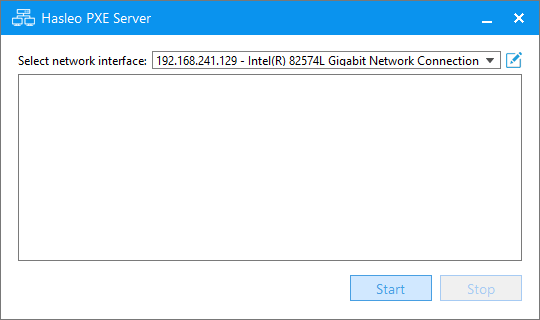
Step 6. After completing the network interface configuration, click the "Start" button to start the PXE server.
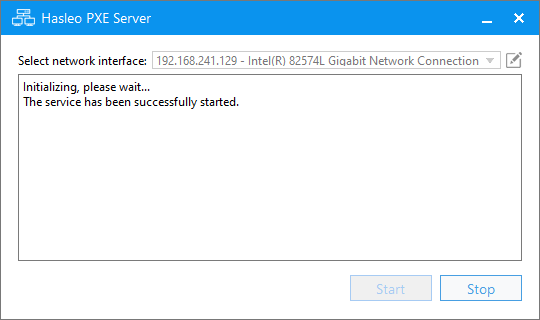
Step 7. The PXE server has successfully started. Now, you can boot into WinPE via PXE from any computer on the local network.
Step 8. Power on the client computer and press the designated key (such as F2, F12, DEL, etc.) to enter the BIOS setup interface. Set the network boot option as the first boot priority, then restart the computer to boot from PXE server.
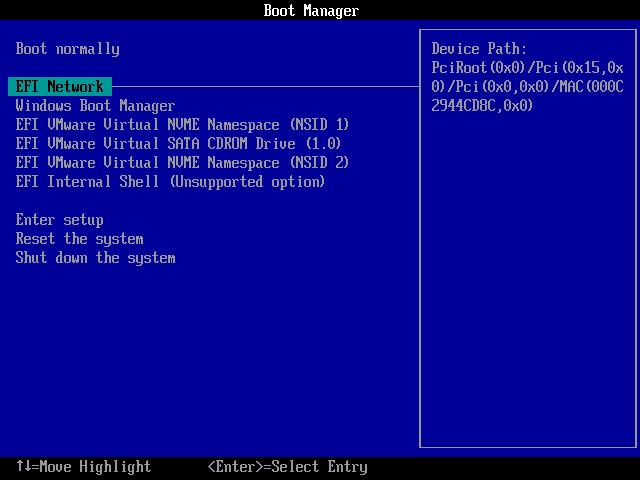
Step 9. The client computer will start downloading WinPE from the PXE server and boot up. This may take a few minutes, so please be patient.

Step 10. After booting WinPE via PXE, you can perform Disk/Partition Backup and Restore, File Backup and Restore, etc on the client computer.
Frequently Asked Questions
A: The host computer must have Hasleo Backup Suite installed, a configured network interface, and the client computer must support network boot (PXE) capability.
A: PXE server can support multiple clients simultaneously on the same local area network (LAN). The actual number depends on your network bandwidth and hardware performance.
A: Common causes include: network cable not connected, client not set to boot from network in BIOS, firewall blocking PXE server ports, or network interface not properly configured.
A: Yes. You may need to disable UEFI Secure Boot to boot from the bootable WinPE media created by Hasleo Backup Suite.
A: PXE server uses standard DHCP (port 67) and TFTP ports for network boot. You may need to allow these ports through your firewall.
A: No. PXE server works within the same local area network (LAN). For deployment across different subnets, you need to configure DHCP relay or proxyDHCP.
A: Click the "Stop" button in the PXE Server interface to stop the service. The PXE server will stop broadcasting to clients.
A: Only .inf based drivers are supported for injection into WinPE. Other driver formats are not compatible.


