
- Overview of UEFI
- Overview of portable Windows
- Why choose Hasleo WinToUSB?
- How to Create a UEFI-Bootable Portable Windows USB Drive using Hasleo WinToUSB?
- Frequently Asked Questions
- Conclusion
While Legacy BIOS computers are mostly outdated, modern computers use UEFI firmware. This tutorial details how to create a UEFI-bootable portable Windows USB drive.
Overview of UEFI
UEFI short for Unified Extensible Firmware Interface, is the modern standard for motherboard firmware, replacing the Legacy BIOS. The motherboard Firmware is code embedded into hardware. It is the first code executed when powering on the computer. Legacy BIOS usually uses the MBR partition scheme, which only supports addressing disks up to 2TB during boot, and the system cannot boot from disks larger than 2TB. UEFI uses the GPT partition scheme as its modern standard, supporting larger hard drives, faster boot times, enhanced security features, even graphical interfaces and mouse cursors.
Overview of portable Windows
Portable Windows means installing Windows on a USB drive, allowing you to carry it anywhere and run the OS from the drive on any computer. Microsoft introduced a feature called Windows To Go creator in Windows 8 and 10 Enterprise as the official portable Windows solution. However, the feature was discontinued in 2019. Fortunately, third-party tools like Hasleo WinToUSB allow users to install Windows on a USB drive as a portable system.
Why choose Hasleo WinToUSB?
Hasleo WinToUSB, the world's first third-party Windows To Go creator, enables you to create portable Windows 11/10/8/7 installations. It also supports flexible partition schemes for compatibility with both Legacy BIOS and UEFI systems. It supports installing Windows on a USB drive from installation files (e.g., ISO, WIM, VHD(X), DBI etc) or cloning the currently running system on USB. Additionally, it provides BitLocker encryption for Windows To Go protecting your data security.
Need a free tool to create a UEFI-bootable portable Windows USB drive? Below we detail how to use Hasleo WinToUSB to install Windows on a USB drive as a UEFI-bootable portable system.
How to Create a UEFI-Bootable Portable Windows USB Drive using Hasleo WinToUSB?
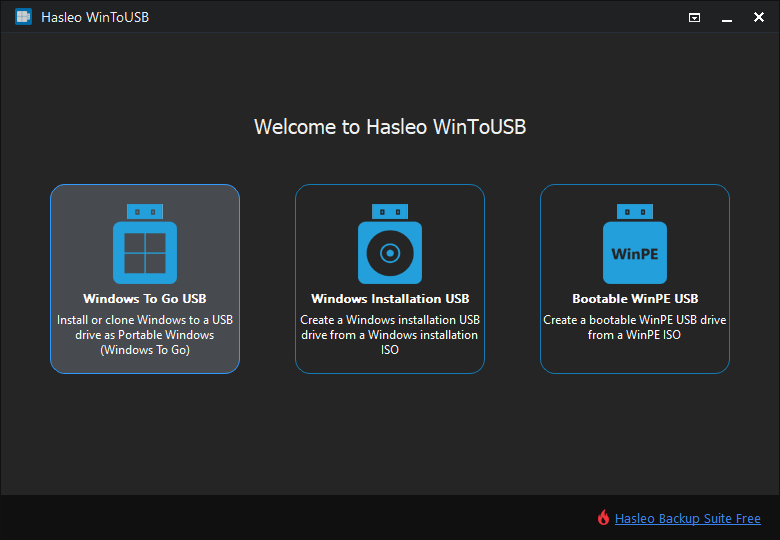
Step 1. Connect the USB drive to your computer, then download, install, and run Hasleo WinToUSB. Click the "Windows To Go USB" option.
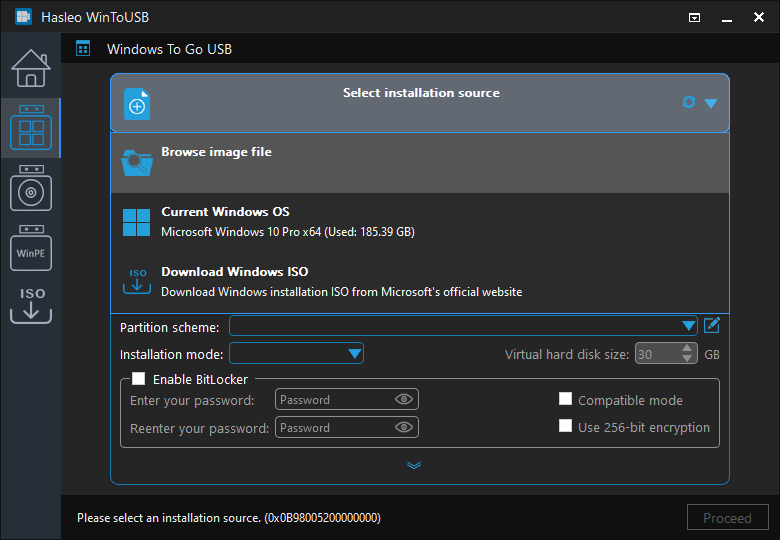
Step 2. Click "Select installation source" => "Browse image file". Then choose an image file from the dialog box as your source. Alternatively, select a CD/DVD drive with Windows installation media.
Step 3. Hasleo WinToUSB will scan for and list the available Windows editions. Please select the edition you want to install.
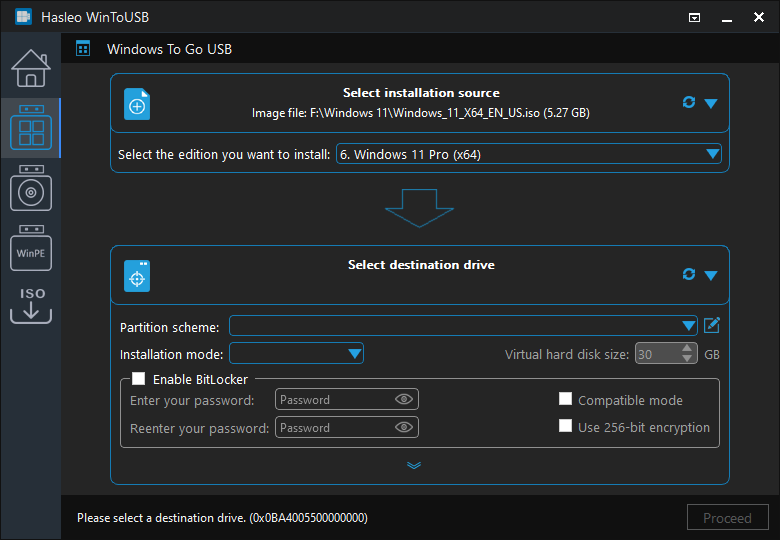
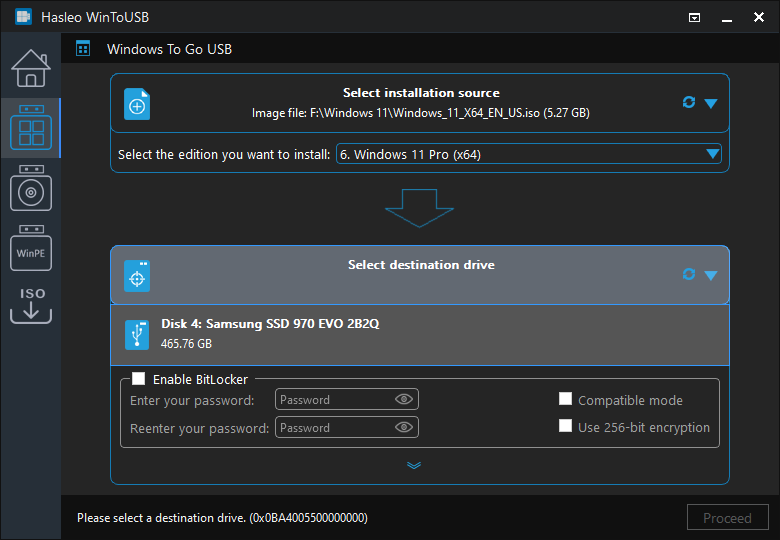
Step 4. Click "Select destination drive", then choose the target drive from the pop-up list. If If Hasleo WinToUSB fails to detect the drive, click the ![]() button to initiate drive recognition.
button to initiate drive recognition.
Step 5. Select your preferred partition scheme and installation mode. Optionally, you may specify additional drivers or enable BitLocker encryption for the Windows To Go drive, then click "Proceed".
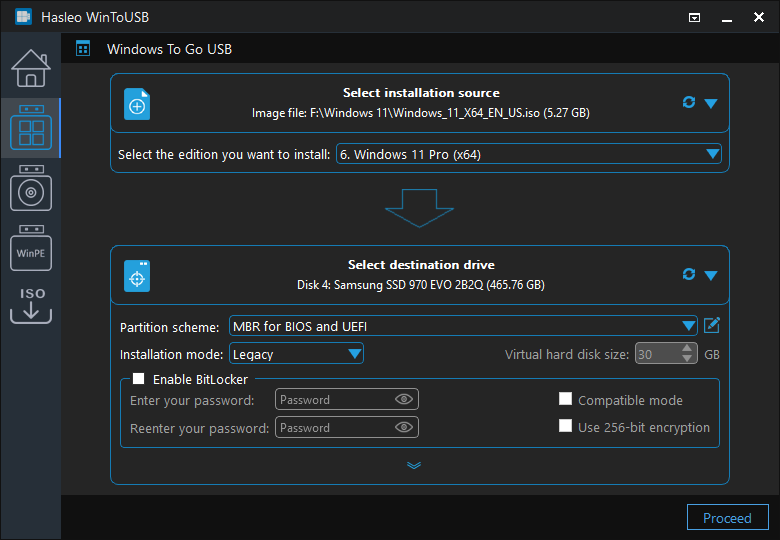
* Tips:
- To create a UEFI-bootable USB drive, you should select the "GPT for UEFI"/"MBR For BIOS and UEFI" partitioning scheme, or a custom partition scheme with UEFI boot support.
- If you select "Keep the existing partition scheme" option, you need to manually prepare the USB drive partitions before this step. View guide: How to Manually Prepare Partitions for Windows To Go.
- For detailed information about "Partition scheme", "Installation mode" and "Enable BitLocker", please refer to: How to Create Portable Windows 11/10/8/7 from ISO, WIM, ESD, SWM, VHD(X) or DBI files?
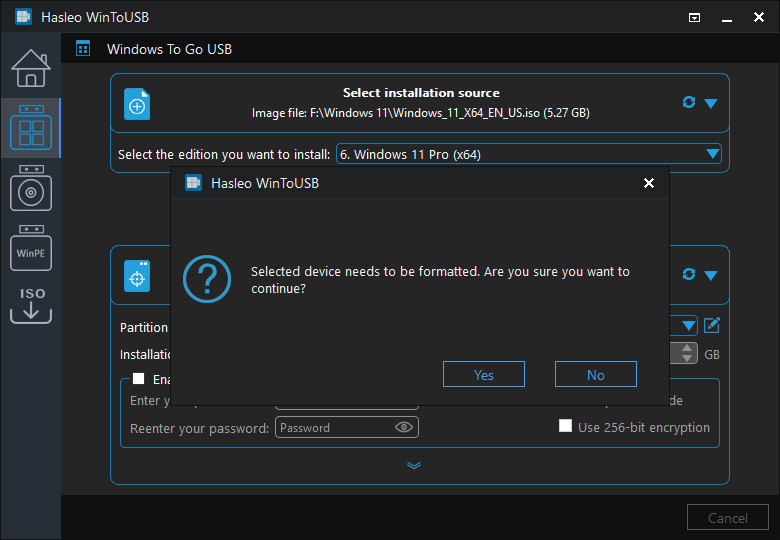
Step 6. After clicking "Proceed", a confirmation dialog will appear asking whether to continue formatting the drive. Click "Yes" if you accept the operation.
Step 7. After clicking "Yes", WinToUSB initiates Windows installation on the destination drive.
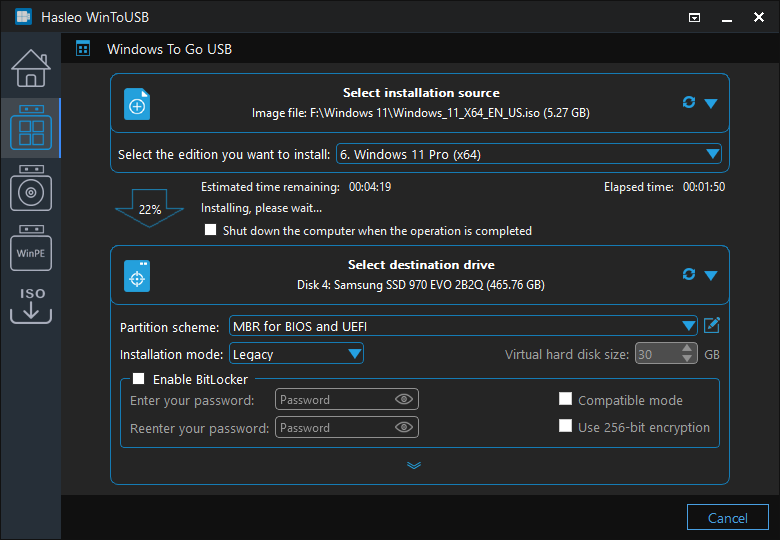
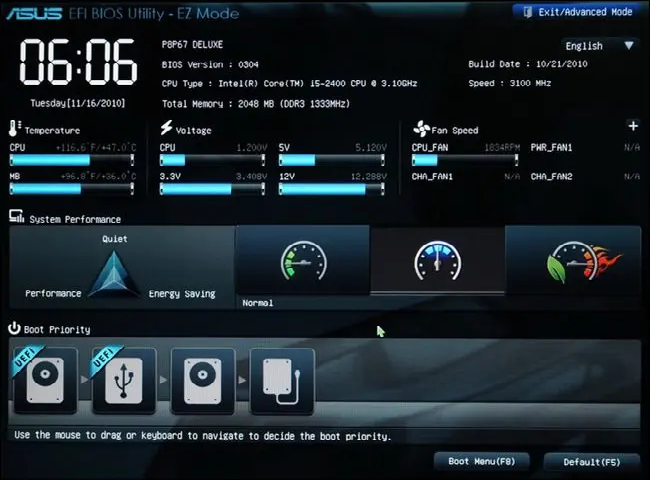
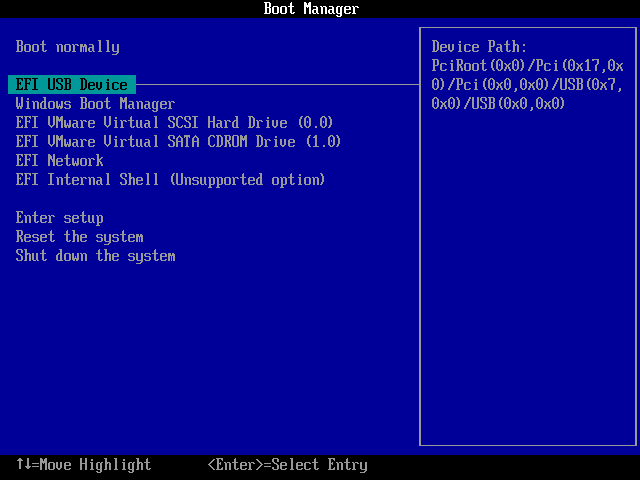
Step 8. The installation will take some time. After installation, restart the computer and enter UEFI/BIOS settings to boot from the USB drive.
Step 9. A standard Windows installation requires completing all setup steps during the first boot. Afterward, you can install applications and copy files, etc.

Frequently Asked Questions
A: UEFI is the modern firmware standard that uses GPT partition scheme and supports features like Secure Boot. Legacy BIOS uses MBR partition scheme and is the older standard. UEFI offers faster boot times, better security, and support for drives larger than 2TB.
A: Yes, by selecting 'GPT for UEFI' or 'MBR for BIOS and UEFI' partition scheme during creation, WinToUSB creates portable Windows that can boot on UEFI computers. We recommend 'MBR for BIOS and UEFI' for maximum compatibility.
A: We recommend using a USB 3.0 or faster drive with at least 32GB capacity for Windows 10, or 64GB for Windows 11. USB 3.0/3.1 drives provide performance close to internal SSDs, making the portable Windows experience much better than USB 2.0.
A: Yes, WinToUSB can create a Windows 7 installation USB with UEFI support. Note that only 64-bit Windows 7 supports UEFI boot. You cannot create a UEFI bootable USB with 32-bit Windows 7.
A: To enable Secure Boot, you need to select 'GPT for UEFI' partition scheme and ensure your portable Windows uses the correct boot files. Some enterprise computers may have Secure Boot enabled by default, which may require additional configuration.
Conclusion
In this tutorial, we explain how to create a UEFI-bootable portable Windows USB drive for free using Hasleo WinToUSB, the best free portable system creator. Additionally, Hasleo WinToUSB supports creating Windows installation USB drives compatible with BIOS and UEFI to install Windows on both BIOS and UEFI computers.
Related Guides
- How to create a portable Windows 11/10 USB drive?
- How to create Windows To Go compatible with UEFI CA 2023?
- How to create Windows 10 live USB for free?
- How to clone Windows 10 to an external hard drive as portable Windows 10?
- How to create Windows 10 To Go step by step with best free Windows To Go Creator?


