
- Tutorial to Create a Bootable Windows 11/10 Installation USB Drive
- How to Boot from the Windows Installation USB Drive
- Frequently Asked Questions
- Summary
There are many third-party tools on the market that support creating Windows 11/10 bootable USB drives, including Hasleo WinToUSB, Rufus, EaseUS OS2Go. Due to technical reasons, bootable USB drives created by some third-party tools (e.g., EaseUS OS2Go) can only use the first 32GB of the drive to support UEFI boot. Hasleo WinToUSB is the world's first tool that can use the full capacity of USB drives, and it perfectly supports UEFI. Below, we will detail how to create a Windows 11/10 bootable USB drive using Hasleo WinToUSB, which you can use to install Windows 11/10 on your computer.
Tutorial to Create a Bootable Windows 11/10 Installation USB Drive
Step 1. Download and install Hasleo WinToUSB. Then download a Windows 11/10 installation ISO file manually from Microsoft or WinToUSB's built-in download feature.
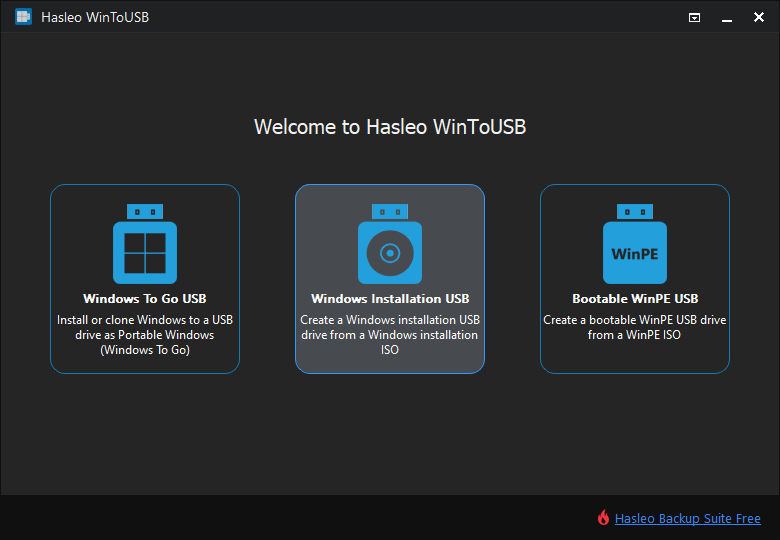
Step 2. Connect the USB drive to your computer. Run Hasleo WinToUSB, then click the "Windows Installation USB".
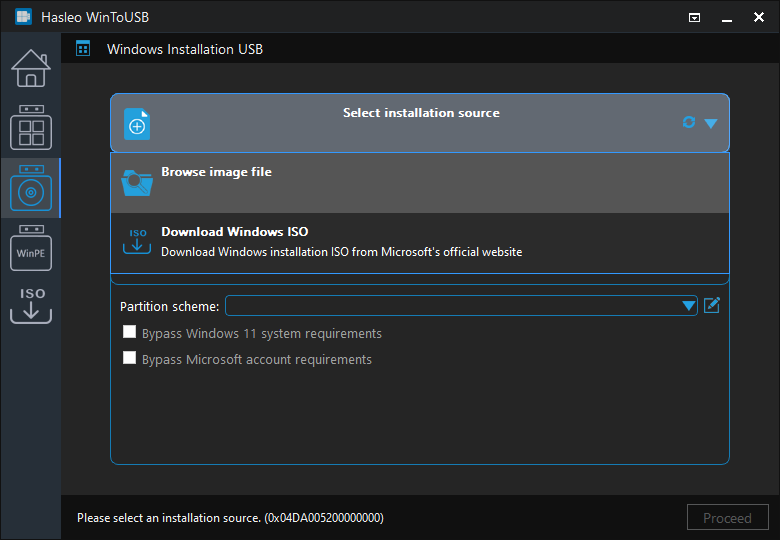
Step 3. Click "Select installation source" => "Browse image file". Select the Windows 11/10 installation ISO file from the dialog box as installation source.
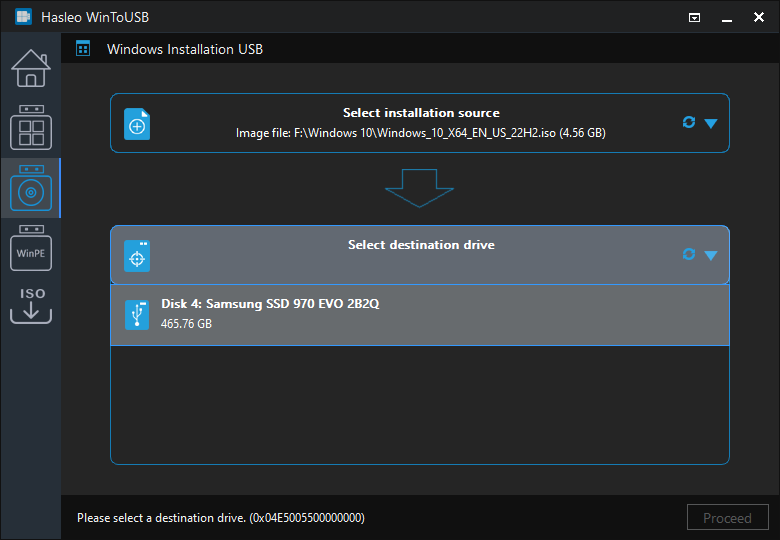
Step 4. Click "Select destination drive", then choose the target drive from the pop-up list. If Hasleo WinToUSB fails to detect the drive, click the ![]() button to initiate drive recognition.
button to initiate drive recognition.
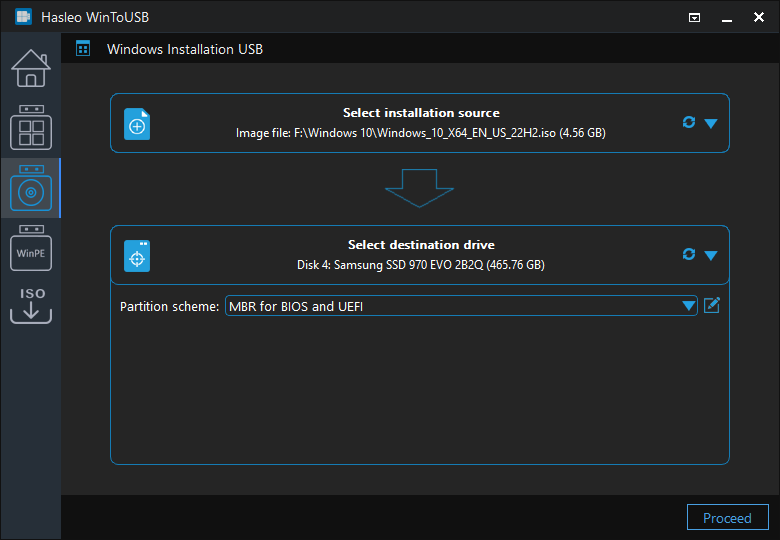
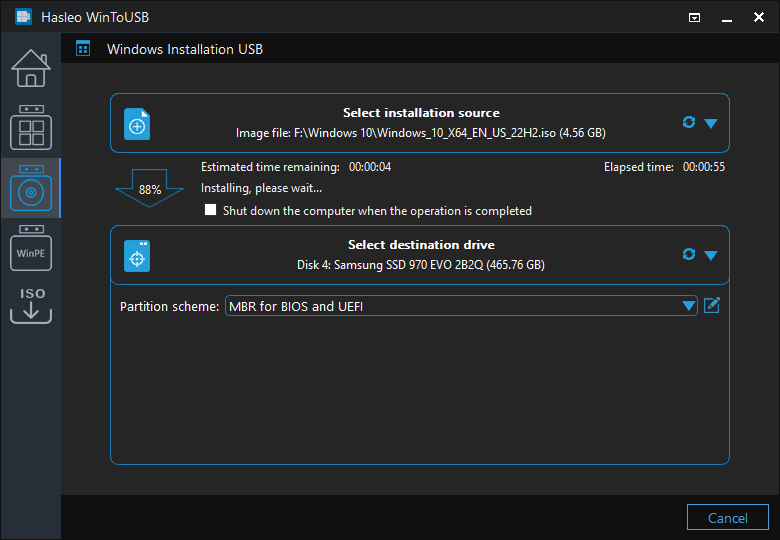
Step 5. Select "GPT for UEFI" or "MBR for BIOS and UEFI" partition scheme, then click "Proceed". We recommend using the "MBR for BIOS and UEFI" option to create a Windows installation USB drive for compatibility with both BIOS and UEFI systems.
* Partition scheme:
- MBR for BIOS: This option creates a Windows installation USB that can only be booted on BIOS computers.
- GPT for UEFI: This option creates a Windows installation USB that can only be booted on UEFI computers.
- MBR for BIOS and UEFI: This option creates a Windows installation USB that can be booted on both BIOS and UEFI computers.
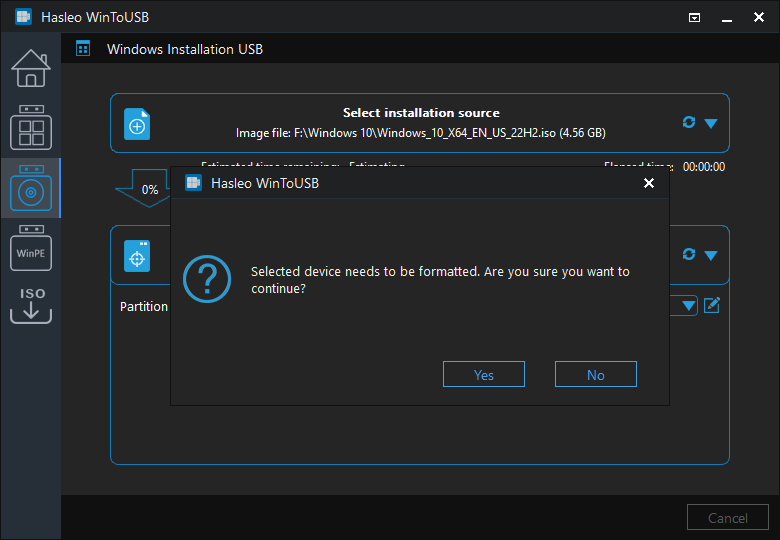
Step 6. After clicking "Proceed", a confirmation dialog will appear asking whether to continue formatting the drive. Click "Yes" if you accept the operation.
Step 7. After clicking "Yes", WinToUSB begins the Windows installation USB drive creation process.
Step 8. Click "Finish" when the creation is complete.
How to Boot from the Windows Installation USB Drive
After creating the bootable USB drive, you need to configure your computer to boot from it. Restart your computer and enter the BIOS or UEFI settings by pressing the appropriate key during startup (typically F2, F10, F12, Delete, or Esc depending on the manufacturer). Once in the BIOS/UEFI menu, navigate to the Boot section and set the USB drive as the first boot device. Save changes and exit.
For most modern computers with UEFI firmware, you can also access a one-time boot menu (often by pressing F9, F10, or F12 during startup) to select the USB drive without permanently changing the boot order. Choose the USB drive from the list and the Windows installation process will begin.
If the computer does not detect the USB drive during boot, verify that Secure Boot is disabled temporarily, USB boot support is enabled in BIOS/UEFI, and you have selected the correct partition scheme.
Frequently Asked Questions
A: Microsoft recommends a minimum of 8GB USB drive for Windows 10, and 16GB for Windows 11. However, we recommend using at least 16GB for Windows 10 and 32GB for Windows 11 to ensure enough space for Windows updates and additional files.
A: The time depends on your USB drive speed and the Windows edition. Typically, it takes 15-30 minutes for a 32GB Windows installation. Using a USB 3.0 drive will significantly speed up the process compared to USB 2.0.
A: Yes, WinToUSB free version allows you to create Windows installation USB from ISO files. The paid Professional version adds features like cloning existing Windows to USB and BitLocker encryption support.
A: We recommend choosing 'MBR for BIOS and UEFI' for maximum compatibility with both BIOS and UEFI systems. If you only need to boot on UEFI computers, select 'GPT for UEFI'. For older BIOS-only computers, choose 'MBR for BIOS'.
A: Yes, WinToUSB will format the USB drive during the creation process, which will erase all data on it. Please back up any important files on the USB drive before proceeding.
Summary
Following these steps, you can easily create a Windows 11/10 installation USB drive using WinToUSB. It allows you to use the full USB drive storage space and supports both BIOS and UEFI systems. After creating the drive, simply insert it into the target computer, configure the boot order to boot from USB, and follow the Windows installation wizard to complete the setup. WinToUSB handles the complex partition configuration and boot file setup automatically, making it accessible even for users with limited technical experience.
As a professional portable Windows USB creation tool, Hasleo WinToUSB can create portable Windows USB and bootable WinPE USB drives.


